今日の写経11
今日の写経
012 UINavigationControllerの表示 - Swift Docs
所感
1個まえでツマズカないとか思ってたら、ちょうど次がNavigationControllerで複数のページ遷移だったので、写経に採用
本を開くのはいつになることやら。
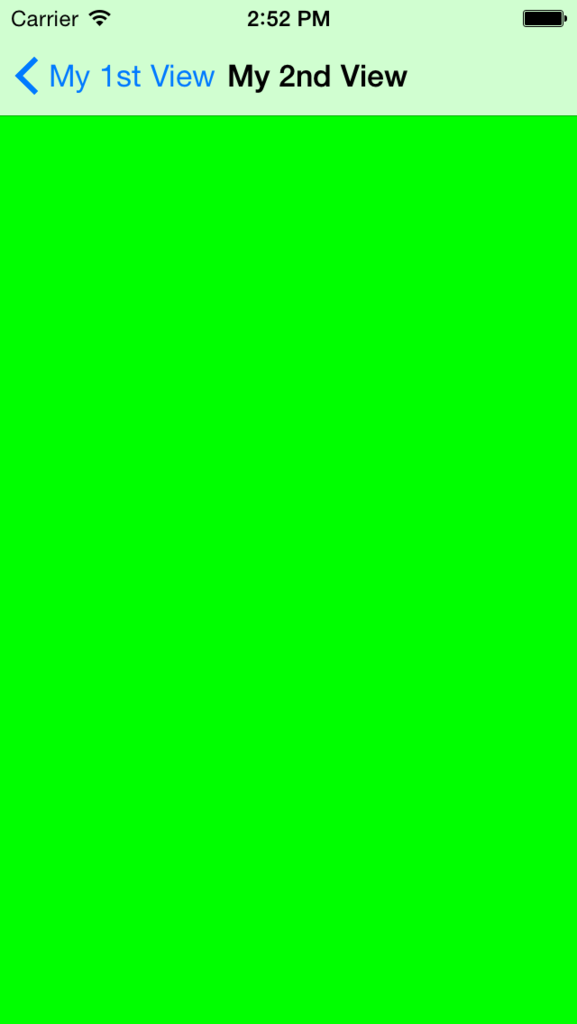
画面キャプチャ


ソースコード
// AppDelegate.swift
import UIKit

@UIApplicationMain
class AppDelegate: UIResponder, UIApplicationDelegate {

    private var window: UIWindow?
    private var myNavigationController: UINavigationController?


    func application(application: UIApplication, didFinishLaunchingWithOptions launchOptions: [NSObject: AnyObject]?) -> Bool {
        // ViewControllerを生成する
        let myFirstViewController: FirstViewController = FirstViewController()

        // Navigation Controllerを生成する
        myNavigationController = UINavigationController(rootViewController: myFirstViewController)

        // UIWindowをせいせうすつ
        self.window = UIWindow(frame: UIScreen.mainScreen().bounds)

        // rootViewControllerにNavigationControllerを設定する
        self.window?.rootViewController = myNavigationController
        self.window?.makeKeyAndVisible()
        return true
    }

    func applicationWillResignActive(application: UIApplication) {
        // Sent when the application is about to move from active to inactive state. This can occur for certain types of temporary interruptions (such as an incoming phone call or SMS message) or when the user quits the application and it begins the transition to the background state.
        // Use this method to pause ongoing tasks, disable timers, and throttle down OpenGL ES frame rates. Games should use this method to pause the game.
    }

    func applicationDidEnterBackground(application: UIApplication) {
        // Use this method to release shared resources, save user data, invalidate timers, and store enough application state information to restore your application to its current state in case it is terminated later.
        // If your application supports background execution, this method is called instead of applicationWillTerminate: when the user quits.
    }

    func applicationWillEnterForeground(application: UIApplication) {
        // Called as part of the transition from the background to the inactive state; here you can undo many of the changes made on entering the background.
    }

    func applicationDidBecomeActive(application: UIApplication) {
        // Restart any tasks that were paused (or not yet started) while the application was inactive. If the application was previously in the background, optionally refresh the user interface.
    }

    func applicationWillTerminate(application: UIApplication) {
        // Called when the application is about to terminate. Save data if appropriate. See also applicationDidEnterBackground:.
    }


}
// FirstViewController.swift
import UIKit

class FirstViewController: UIViewController {

    override func viewDidLoad() {
        super.viewDidLoad()
        // Controllerのタイトルを設定する
        self.title = "My 1st View"

        // Viewの背景色をCyanに設定する
        self.view.backgroundColor = UIColor.cyanColor()

        // ボタンの定義をおこなう
        let myButton = UIButton(frame: CGRectMake(0, 0, 100, 50))
        myButton.backgroundColor = UIColor.orangeColor()
        myButton.layer.masksToBounds = true
        myButton.setTitle("ボタン", forState: .Normal)
        myButton.layer.cornerRadius = 20.0
        myButton.layer.position = CGPoint(x: self.view.bounds.width/2, y: 200)
        myButton.addTarget(self, action: "onClickMyButton:", forControlEvents: .TouchUpInside)

        // ボタンをviewに追加する
        self.view.addSubview(myButton)

    }

    /*
    ボタンイベント
    */
    internal func onClickMyButton(sender: UIButton){
        // 移動先のViewを定義する
        let secondViewController = SecondViewController()
        self.navigationController?.pushViewController(secondViewController, animated: true)
    }
    override func didReceiveMemoryWarning() {
        super.didReceiveMemoryWarning()
        // Dispose of any resources that can be recreated.
    }

}
// SecondViewController.swift
import UIKit

class SecondViewController: UIViewController {

    override func viewDidLoad() {
        super.viewDidLoad()

        // Controllerのタイトルを設定
        self.title = "My 2nd View"
        // Viewの背景色を定義する
        self.view.backgroundColor = UIColor.greenColor()
    }

    override func didReceiveMemoryWarning() {
        super.didReceiveMemoryWarning()
        // Dispose of any resources that can be recreated.
    }

}